1. Create a stair
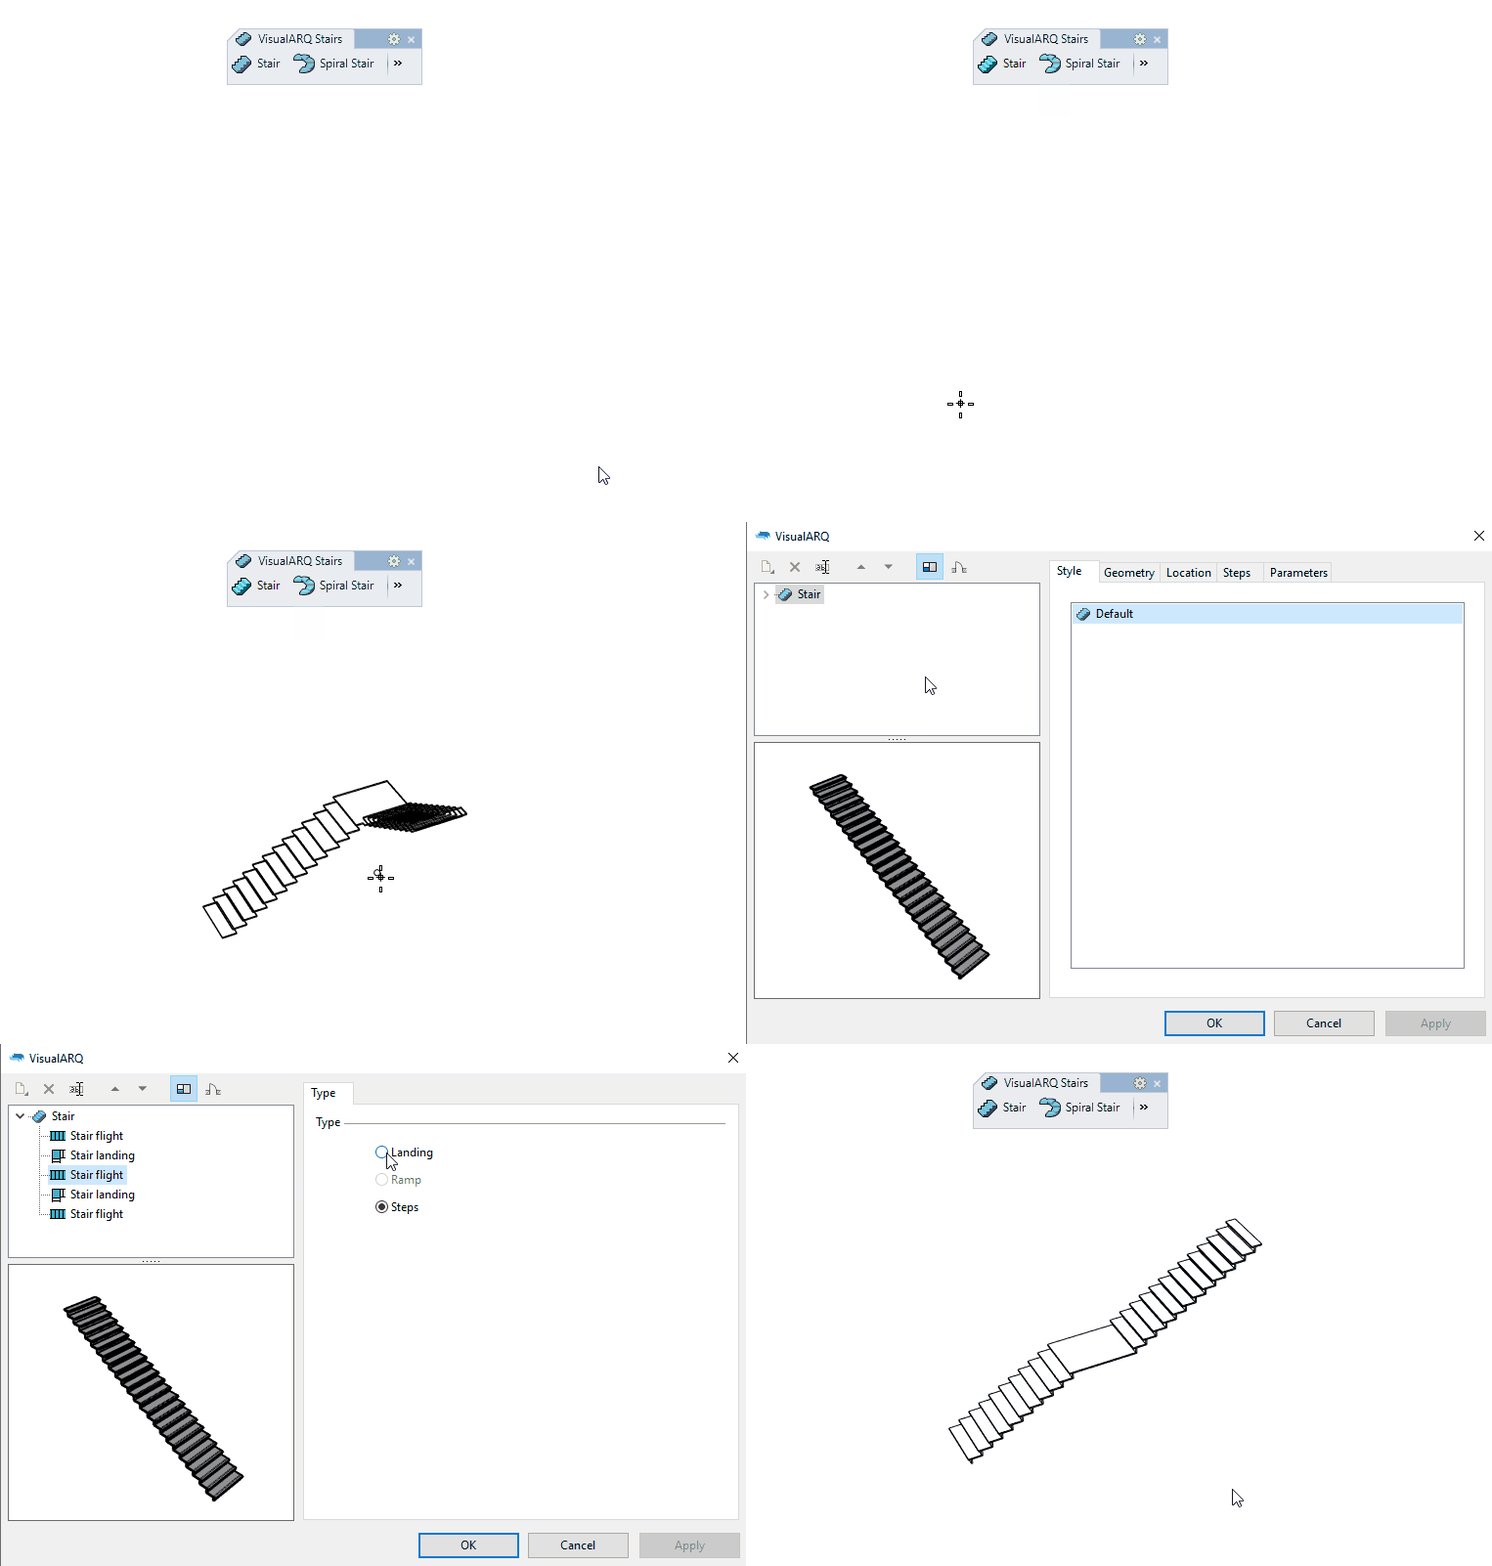
- Run the command, or click on the Stair icon in the VisualARQ Objects toolbar. The stair insert dialog box will appear with the list of existing stair styles.
- Select the Stair style you wish to insert and the basic insert options.
- Specify the stair start insert point in the model.
- Specify a new insert point every time the stair turns. If you wish to create a straight stair with landings, specify a new insert point at the beginning and at the end of the stair landings. All stair flights will be created with steps but you can change that afterwards. A new stair flight is created for every insert point in the model. Right click to finish the command.
2. Turn a stair flight into a landing
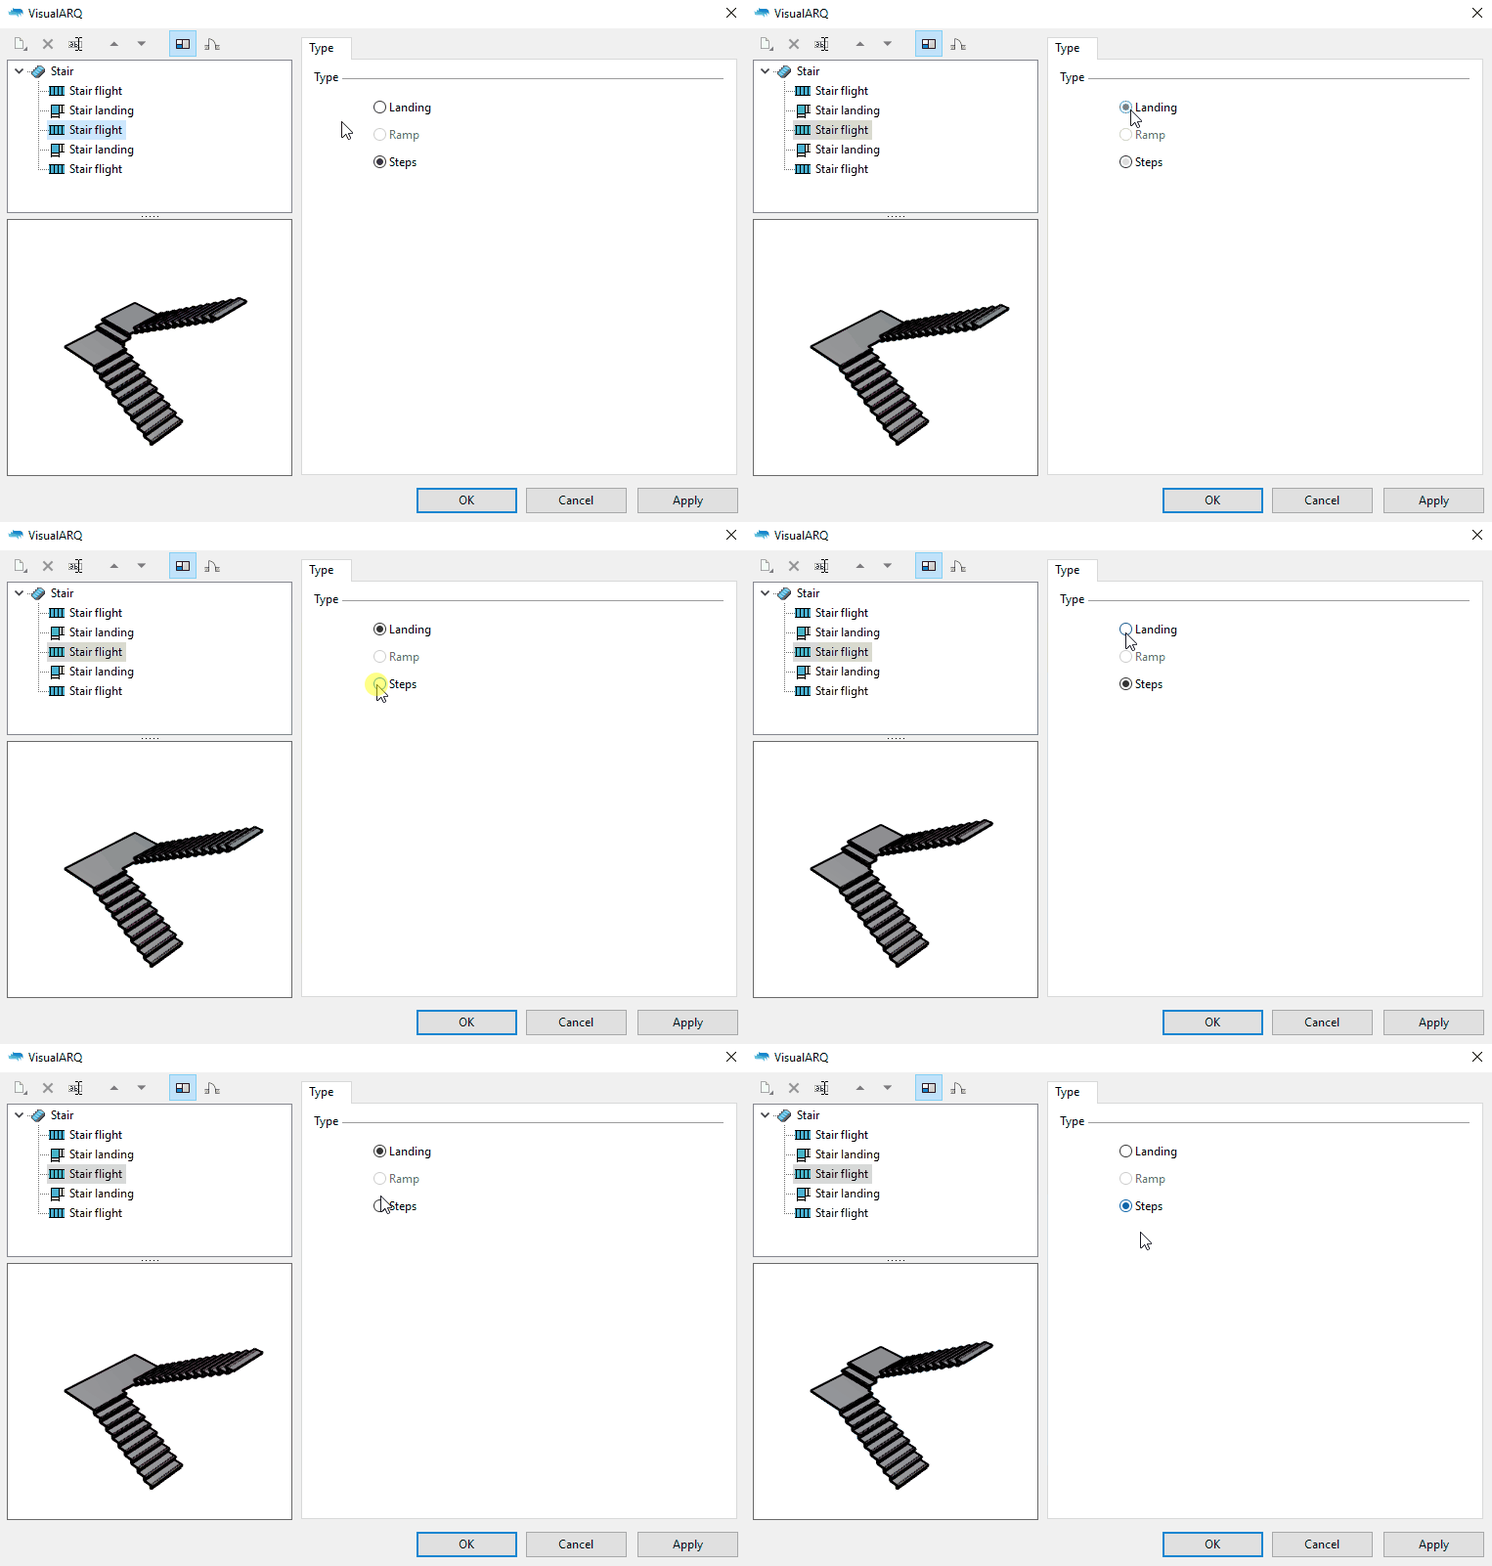
- Select the stair and open its VisualARQ object properties dialog .
- Expand the stair object name from the little arrow to display the stair flights.
- Select each flight of the stair and define one of the two flight type options (landing or steps) from the Type tab.
You can also edit the stair flights boundary, from the boundary Tab after selecting a stair flight. This option is only applicable for the even stair flights.

What about a straight stair with a landing?
The process is the same. You must define the points where the middle stair landing will start and end along the stair direction. And later on edit the middle stair flight as described above.


