Facades are, with respect to a building, like your face about your body. It is what strikes you the most at the first encounter, what gives you expressiveness. Your “hook” to attract the interest of others.
A face, an individual. A façade, a building.
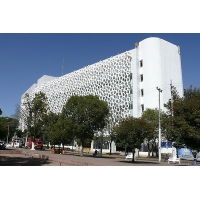
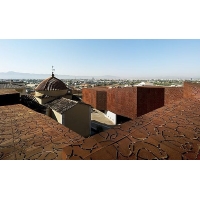
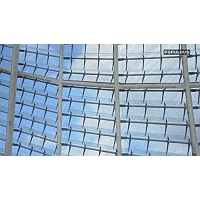
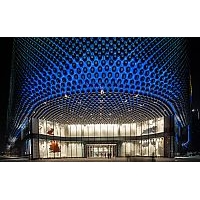
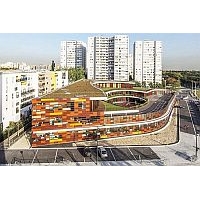
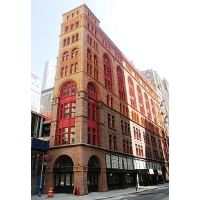
In the articles where we discussed architectural projects in Rhino, we have seen imposing facades, some of them because of the use of materials, as the anti-pollution properties of those installed in the Manuel Gea González Hospital, or the use of perforated metal panels, as in the Monteagudo Museum, others for its transparency, as the blades in the Aviva Stadium. In other cases, by its shape, as the metal spheres forming a ribbon around the Hanjie Wanda Square Mallor by the color, as the school of Bobigny. We have also seen beautiful old facades that have been restored in New York.
We know that you have experience in designing facades and, as always, you provide the creativity and we supply the tool to make your job easier. You may have to restore a building or to develop a project in which replicate a façade. Need to reproduce an existing facade? With VisualARQ you can do it easily.
The process is simple, based on some features of our architectural plug-in:
Press Ctrl+vertical extensión arrow to change the walls height.
Delete the box.
Create a new level.
2. Apply a map on a wall:
Select the front wall and assign it a material “by object”.
Select a bitmap as a texture for the façade.
You need to scale the image into the wall.
Select the texture mapping icon and apply a planar mapping.
Define the size of the mapping and select the UV option.
3. Create openings from curves:
Draw the openings on the image using rectangles.
Use the array command to copy the rectangle over the façade.
Adjust the rectangle sizes to match the openings in the image.
Run the _vaDOOR command and select “from curves” option in the command line.
4. Create the slabs and the balcony railings:
Run the _vaSLAB command to create the slab for the ground floor.
Make a copy of the slab for the upper floor.
Doors are shown in 2D representation in level 1.
Create a rectangle for the balcony slab.
Add the rectangle to the slab boundary with the _vaSlabAdd command.
Repeat the stops for the other balconies.
Run the _vaRAILING command to create the balcony mailing.
Make copies of it for the other balconies.
Now you can copy the slab and railings to the other floors.
… and don’t forget to make sure that the “project” object snap is on.
That’s it. Any questions? You have a specific videoto show you the entire process, you cannot get lost.
As soon as you try it, we wait for you in Facebook to congratulate you for your work, we encourage you to share it!
Images: