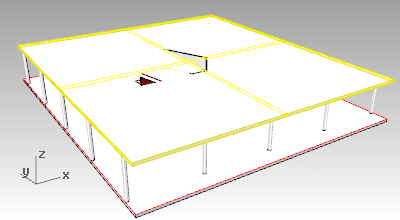
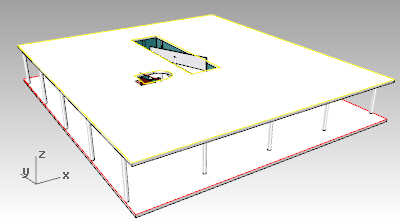
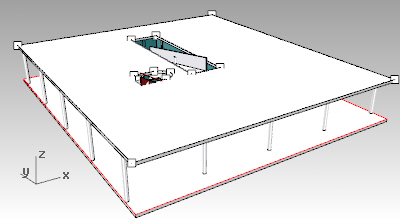
3.1 First floor
The second part of the tutorial describes how to model the first floor of the Villa Savoye. Since it repeats many of the commands explained in the process of the Ground floor, it will ignore the repeated commands and go in detail with the new ones. First of all, set the first floor in the Level Manager dialog as the current level on which you are going to work from now on. Also switch on the layer where the bitmap of the First floor is, and hide the Ground floor bitmap layer off.Create the slab

- Make sure the Project snap point is on to avoid creating the slab in a different CPlane than the First floor.
- Run the _vaSlab command
 and pick the two opposite corners of the slab of the ground floor.
 - Change the thickness of the slab to 0.2m from the Properties Panel.
Note: the slab thickness is a style property defined in the slab layers, although it can be edited by slab object and layer individually.
Slab: Subtract contour

- Draw two closed polycurves (from the Top viewport) that will be used to subtract from the slab: one for the stair opening and another for the ramp opening. Use the _CloseCrv command to make sure the curve is closed.
- Run the _vaSlabSubtract command
 from the Slab toolbar. (Press and hold the slab icon to open the Slab toolbar)
- Select the slab you wish to subtract the boundary from.
- Select the boundaries you wish to subtract
Slab control points
 A slab has as many control points as the original curve it was created from and the curves used for creating subtractions and additions to its boundary.
- Turn the slab points on
 and move them to adjust the subtraction contour created in the right place.
 - Press ESC or right click on the Control Points icon to turn them off.
Back to Index menu
