1.2 Insert drawing plans bitmaps
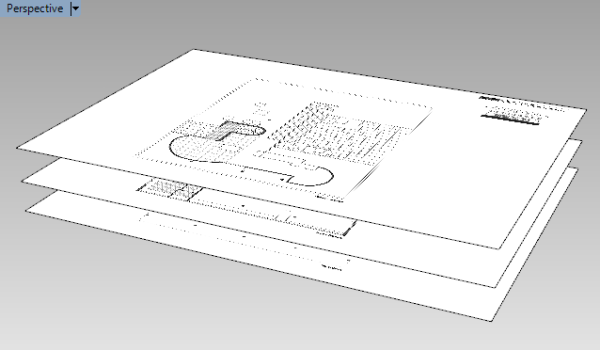
You need to insert a bitmap of each Villa Savoye floor in the model. The images will be used as guidelines to model the project. You can place them in different layers and at the corresponding elevation height. First of all, open the Layers panel and the Properties panel .
- You can get all documents and floor plans from Urbipedia following this link.
- Create a new layer “Bitmaps” and 4 sublayers (i.e., “GF”, “F1”, “TF”, “Elev.”) for each image. This way it will be easier to show/hide and lock/unlock these bitmaps.
- Insert the floor plan bitmaps of the Villa Savoye using the Picture command (available also from the Surface toolbar), and put them in the corresponding layer you have just created. Make sure the bitmaps have the same scale factor, (when inserting the picture frame, put the construction plane on the corresponding level, from the Level Manager ).
- Select all picture frames and use the Scale 2D command to scale them at the same time. The length of the bottom building side appears to be 19 meters in the video, but this length may vary according to how the bitmaps have been scaled.
Back to Index menu


