3.3 First floor columns
Create the first floor columns
 The process to create the columns of the First floor is the same as the one for the ground floor columns. Turn on the First floor bitmap layer.
- Run the _vaColumn command
 or _Copy
  the columns from the Ground floor to the First floor.
 - Move
 , _Copy , and _Delete the columns according to the First floor bitmap.
- Run the _vaSelSameType command.
- Select any column. All column objects will be selected.
- Select a column and right click to open the context menu: Column > Select > “All Columns”.
Modify the column properties
Change the columns height, style or any other property from one of these two dialogs: The VisualARQ Properties in the Rhino Properties dialog box
 The VisualARQ Object Properties dialog box (you can do a multiple selection of columns and modify their properties at the same time).
Edit the column styles
Change the style and profile of a column
- To change the style of a column just select it and go to the Properties Panel, under Column you will find the Style combo.
- To change the profile size, from the same panel use the Profile combo instead. You can select an existing one or choose “Other” to enter the dimensions.
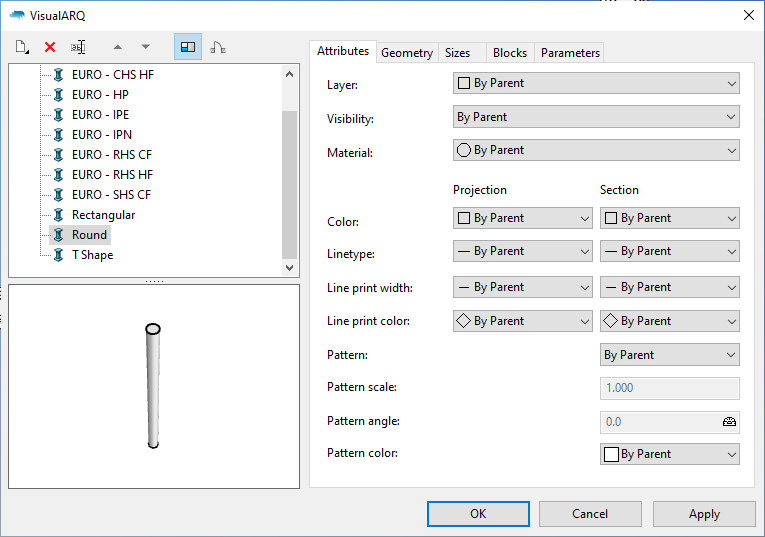
Edit the style
- To edit the style open the Column Styles dialog box (_vaColumnStyles) and select the column style you wish to modify.
- To create a new profile size go to the Sizes tab and add a new profile size.
- To change the 2D representation go to the Attributes tab, and for example extend the Hatch combo to pick any hatch (i.e. “solid”).
Back to Index menu